
Create a Punch Card
The Loyalty platform allows you to create a new Punch Card, either by copying an existing Punch Card, or by defining a new Punch Card from scratch.
Copy an Existing Punch Card
To copy a Punch Card:
-
Select Campaigns from the top navigation bar, then select Punch Cards > Punch Cards from the side navigation menu. The Punch Cards screen is displayed.
-
Search for the desired Punch Card (see
-
Next to the base Punch Card, click the Copy icon.
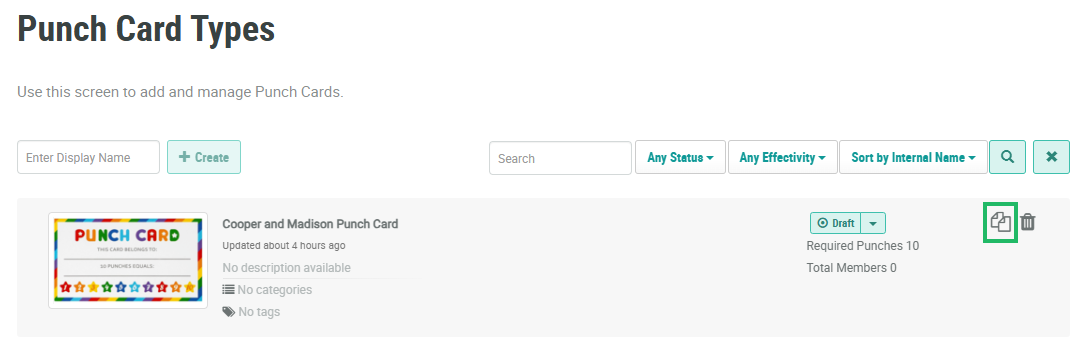
Note: You can also copy the Punch Card from the Punch Card Details screen. Navigate to the Punch Card Details screen for the base Punch Card, then click the Copy icon within the header area of the screen.
-
The system creates a new Punch Card and displays the Punch Card Details screen, with the Definition tab selected. The default name of the new Punch Card is the name of the base Punch Card, followed by an incremental counter, such as "(1)."
-
Click the Edit icon within the header section. The Edit Punch Card Type pop-up window is displayed.
-
Enter a descriptive name in the Display Name field.
-
When copying assets, the recommended best practice is to change the new asset’s internal name so as to avoid any duplicate name issues if you copy this asset again in the future. Check Edit Internal Name to make the Internal Name field editable. A confirmation dialog box is displayed; click OK. Enter a new internal name.
Note: The internal name must be unique and can not include any special characters or spaces; only numbers, letters, and underscores are allowed. Do not change the internal name once the Punch Card is published.
-
From the Card Type drop-down menu, select Standard.
-
Optionally, to assign a thumbnail image to this item, click Choose File. Browse to and select the desired image file, then click Open.
-
In the Required Punches field, enter the number of punches required to complete this Punch Card.
-
From the Start Type drop-down menu, select one of the following options:
-
Automatic: The Punch Card will start for the Member with the first qualifying activity or purchase.
-
On Acceptance: This Start Type method works as follows:
-
If a Punch Card Response already exists for the Member, the Punch Card will start when the Member opts in. The platform will track any qualifying activities or purchases made prior to the Member opting in, but the Punch Card will not show any progress. Once the Member opts in, the platform will then apply all of the qualifying activities or purchases.
-
If no Punch Card Response yet exists for this Member, the platform will create a Response with zero punches and mark it as Accepted. The Punch Card Issue, Punch Card Response, and Punch Card Accept activities will be generated by this action.
-
-
-
Optionally, toggle on Default if you want this Punch Card to be considered the default Punch Card within your loyalty program.
-
Optionally, toggle on Per Store if you want this Punch Card to be issued separately per store location. If enabled, a Member could have multiple active instances of this Punch Card, from multiple stores.
-
Punch Card Categories are used to organize Punch Cards, often for controlling what Punch Cards get displayed on your website or app. Optionally, to assign this Punch Card to one or more Punch Card Categories, select them from the Categories drop-down menu.
-
Tags are used to help organize objects within the platform. Punch Cards can be searched by Tag from the Punch Cards screen. To reuse an existing Tag, begin typing all or part of the Tag name, and select it. You can also type in a new Tag value.
-
Click Save.
Create a New Punch Card
To create a new Punch Card from scratch:
-
Select Campaigns from the top navigation bar, then select Punch Cards > Punch Cards from the side navigation menu. The Punch Cards screen is displayed.
-
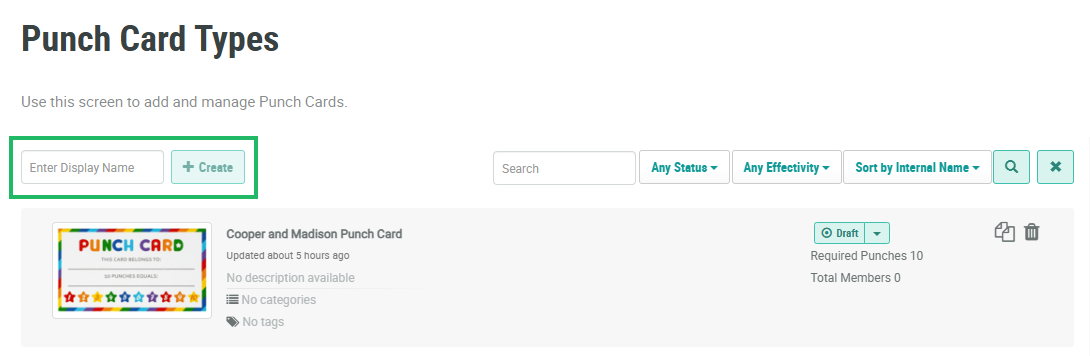
In the Enter Display Name field, enter the Display Name value for the new Punch Card.
-
Click Create. The Edit Punch Card Type pop-up window is displayed.
-
The Display Name field is populated with the value you entered above; optionally edit this value.
-
The Internal Name is automatically populated based on the Display Name value. This field is not editable by default. To edit the Internal Name, check Edit Internal Name. A confirmation dialog box is displayed; click Ok. Edit the Internal Name value.
-
Optionally, in the Description field, enter a description of this item.
-
From the Card Type drop-down menu, select Standard.
-
Optionally, to assign a thumbnail image to this item, click Choose File. Browse to and select the desired image file, then click Open.
-
In the Required Punches field, enter the number of punches required to complete this Punch Card.
-
From the Start Type drop-down menu, select one of the following options:
-
Automatic: The Punch Card will start for the Member with the first qualifying activity or purchase.
-
On Acceptance: This Start Type method works as follows:
-
If a Punch Card Response already exists for the Member, the Punch Card will start when the Member opts in. The platform will track any qualifying activities or purchases made prior to the Member opting in, but the Punch Card will not show any progress. Once the Member opts in, the platform will then apply all of the qualifying activities or purchases.
-
If no Punch Card Response yet exists for this Member, the platform will create a Response with zero punches and mark it as Accepted. The Punch Card Issue, Punch Card Response, and Punch Card Accept activities will be generated by this action.
-
-
-
Optionally, toggle on Default if you want this Punch Card to be considered the default Punch Card within your loyalty program.
-
Optionally, toggle on Per Store if you want this Punch Card to be issued separately per store location. If enabled, a Member could have multiple active instances of this Punch Card, from multiple stores.
-
Punch Card Categories are used to organize Punch Cards, often for controlling what Punch Cards get displayed on your website or app. Optionally, to assign this Punch Card to one or more Punch Card Categories, select them from the Categories drop-down menu.
-
Tags are used to help organize objects within the platform. Punch Cards can be searched by Tag from the Punch Cards screen. To reuse an existing Tag, begin typing all or part of the Tag name, and select it. You can also type in a new Tag value.
-
Click Save.
More Information
For additional information on how to configure the new Punch Card, please see the following Help Center articles:
